Tag Archives: storage

Popcorn Words: Sight Word Organisation

Standard

At my son’s school they call their sight words, Popcorn Words, as they ‘pop’ up all over the place. With a bit of time on my hands over the Christmas holidays, I thought I would make his sight word flash cards a little more interesting. This is what I did…..

I downloaded a picture of a piece of popcorn and replicated it over and over.  I then typed my son’s sight words over the top and printed them on cardstock.

Popcorn (Sight) Word Practise and Storage

I had intended on laminating the popcorn words to make them a little more sturdy but cutting them out once from the cardstock was more than enough. There was no way I was going to punish myself with cutting them out again!

As it is easy to forget popcorn word practice, I wanted a good storage solution for them.  One that was attractive enough to leave in the main areas of the house, so we would see it and remember to quiz Master O.  I purchased this ceramic popcorn container from Target.  If you are worried about it being broken, you can also pick up cardboard box versions in variety stores for next to nothing.

Popcorn (Sight) Word Practise and Storage

Popcorn word time is now rarely forgotten with this new storage solution and it is just a little bit more fun for a 6-year-old. I will post soon about some of the ways we mix up our popcorn word practice to make it interesting. Have a great day.

Popcorn (Sight) Word Practise and Storage


DIY Fridge Mats

Standard

I hate cleaning the fridge. Who doesn’t? With two little boys who like to poke around the refrigerator contents, spills and subsequent cleaning are frequent. Sick of the mammoth task of removing all the food, lugging and washing the massive glass shelves, I decided to have a go at creating my own fridge mats.

I found heaps of inspiration in cyberspace for DIY refrigerator liners. I settled on using thick  plastic placemats for mine.

I wanted a nice bright print and picked up these green chevron placemats and coasters at the Reject shop for $4 a set. DIY Fridge Mats

As my refrigerator shelves are so wide, I needed 3 packs of placemats to do the job. I carefully measured and cut the placemats to suit my first shelf and used these as a template to complete the fridge. It really wasn’t that big of a task. It was a little fiddly to get the initial measurements right, then it was smooth sailing.  DIY Fridge Mats

I just love how clean, bright and fun the inside of my refrigerator looks now! Unfortunately, the pictures do not do the project justice. We are having horrible weather here and there is no light to photograph in.

DIY Fridge Mats

DIY Fridge Mats

The placemats have nicely ‘clung’ to the glass shelves and do not move around when shifting items. Now when a spill occurs, instead of having it turn into a giant cleaning task, I just remove the placemats, give them a quick wipe down and return them to their place.

I just love completing a small project that I know will save me time and energy. The fact that it has also livened up my fridge is a happy bonus.

Have a great day.


Organising Children’s Art Supplies With Tupperware

Standard

A while back I gave my pantry a makeover.  With the addition of the Thermomix in the kitchen, my pantry underwent a change.  There were a lot less cans and processed foods and a whole lot more basic ingredients. I desperately needed more storage containers and I was just not prepared to drop a grand on Tupperware to house it. As I hate to miss-match, the Tupperware I did own, came out of the pantry and went into storage.

Looking at the Tupperware taking up space in my storage cupboard today, I decided I had to make use of it.  I went to my most hated storage solution, the kids’ craft tub and decided that Tupperware might just save the day.

The old craft tub was huge and filled with a million bits and pieces. The half empty packets and the buttons and  beads laying loose made finding what I needed a challenge.

After a good purge and some help from the littlies to sort, we filled most of my spare Tupperware containers.

Using Tupperware to Organise Craft Supplies

Using Tupperware to Organise Craft Supplies

If our little collection of craft supplies should exceed our Tupperware collection, I will just pick up the super cheap knock-off version you can get in Kmart.

Kmart's Tupperware Knock-off

I love that I regained some space and made good use of the once wasted Tupperware.  I think that craft time will be a lot less painful with this storage solution. 

DIY Christmas Pocket Book

Standard

In the hope of avoiding  the shopping centre crush at Christmas time, I have well and truly begun my Christmas shopping.

In years past, my present buying had been a bit haphazard. This year I was determined to be organised by writing a list of gift ideas and items purchased, as well as keeping my receipts in one place.

I decided I needed a pocket book in which to keep this information. Instead of going out to buy one, I made one using left over craft paper from last Christmas.

The whole thing was really simple and quick to make.

I didn’t have any double-sided paper left, so I stuck some coordinated prints together to make three,  30 x 30 cm double-sided pieces of paper. If you wanted to do this,  you could use paper or light card and alter the size and number of  sheets to suit the size pocket book you need.

I folded the base of each sheet to make a little pocket.DIY Christmas Pocket Book


I held down and secured the sides of the pockets with a glue tape.

DIY Christmas Pocket Book

I folded each sheet of paper in half, using a ruler to get the folds crisp.

DIY Christmas Pocket Book

I stacked the pockets on top of each other and used the sewing machine to bind them together along the fold line.

DIY Christmas Pocket Book

This configuration of folded sheets gave me a good number of pockets to place receipts or vouchers and some blank pages on which to write my Christmas present ideas.

DIY Christmas Pocket Book

I have divided each spread up for the different individuals or groups/families I buy gifts for.

DIY Christmas Pocket Book

The front cover was screaming out for a little prettiness so my youngest helped me glue some buttons in a wreath shape on the front.DIY Christmas Pocket Book

This little book now lives in my handbag. I am never without my ideas list at the shops and my receipts can be stowed safely inside straight away.

How do you keep your Christmas buying organised?


Children’s Flash Card and Activity Book Storage

Standard

For the last week I have been on a mission to organise those annoying bits and pieces about the house and garden. I hope to pop some posts up about these little projects because even if your abode doesn’t suffer from the same annoyance, you might get some inspiration to help you with something about the house. I know that is often how I get my ideas on how to tackle things. Today I focused on the tackling some kid’s mess.

My 4-year-old loves activity books.  You know the sort… with pre-writing, easy letter or number activities?

A while back I bought a whole heap of them on sale and they each came with a set of flash cards. He has every conceivable set available – numbers, letters, words just to name a few.

I had these stored in a basket but the boys had got into it for some card-throwing fun.  All the sets were jumbled and their cardboard cases squished.  They needed some organising know how.

Not too long ago I picked up one of these very cute A5 accordion file at Officeworks for just a few dollars.Organising Kid's Flash Cards

I loved the green colour and knew something or other would benefit from its addition to the house.  Enter the flash cards.

After spending a ridiculous amount of time rearranging the cards into their packs, I slotted them into the file and labelled each section.

Organising Kid's Activties

Now the flash cards are secured inside, no accidental drop will send these babies flying.  The box also has a handle which makes it easy to move around the house.Organising Kid's Activties

As for the activity books, they had been kept messily in a  drawer. I thought it best to pull them out and place them into something that made them easier to see and access.

I rummaged through my storage cupboard to find a Mimi Separator from Howards Storage World. I had used it to store things in my freezer of all places but it was no longer needed.

Organising Kid's Activties

It has handles and is perfect for moving to where the action is taking place

Now that these things are neat, I have decided that they are more than welcome to stay out.  I found a place for them in the kids’ playroom. By adding this cute container that once had a life as a recipe holder, I added some pencils and made a little station for these activities.

Organising Kid's Activties

Organising Kid's Activties

I love it when you find a nifty solution to your organising problems. Especially when you find the solution amongst the items making your storage cupboard messy.  It is like killing two birds with one stone!

Homework / School Paperwork Drop Zone

Standard

As Kindergarten approaches last term and primary school starts next year for my eldest, we know our relatively ‘carefree’ parenting days are over.  Around the corner looms homework, permission slips and assignments, just to name a few.

At the moment, most of the paperwork that comes into the home from school is managed at the fridge – with magnets, or worse, is kept in the car glovebox!  It is beginning to look messy and things are being forgotten.  Increasingly the tasks sent home require some action from my son and I wanted these pieces to be more accessible to him.

So I set out to create a drop zone for all this ‘stuff’. I decided the best place to keep this was on the back of his bedroom door. That way it wasn’t taking up precious space in our living areas and it was accessible for my son.

Here is what the completed zone looks like.

Homework / School Paperwork Drop Zone

The zone is made up of …..

  • My After School Routine printable,  downloaded from Living Locurto.  We have had it pinned around the house for over a year now, so it makes sense for it to be placed in this zone now
  • A magnetic white board calendar (Quartet). Perfect for recording all those easily forgotten datesHomework / School Paperwork Drop Zone
  • Different sized plastic organisers (Ikea Pluggis).  These provide spots for holding pens for signing paperwork, writing on the calendar and Sharpies for labeling items heading to school.  Small containers for holding bits and bobs like ID cards and badges. Finally, a file to hold items like signed permission slips that need to be returned to school    Homewoork / School Paperwork Drop Zone
  • Plastic file holders (Martha Stewart Large Vertical Plastic Pocket) . One to hold general school paperwork like newsletters and tuckshop menus, the other for classroom paperwork like homework.Homewoork / School Paperwork Drop Zone

I have started to transfer the paperwork from my various ‘filing’ areas into this zone – a useful project as I found out that I am meant to be a fundraiser this weekend!  I am looking forward to testing its full usefulness beginning next week.

Organising the Pantry: Spice it Up

Standard

This week I decided that I really needed to handle the spice situation in my pantry.  They were contained in baskets on the pantry shelves but it was just too hard to find what I needed, when I needed it.

A plan developed when I found these adjustable spice racks made by Storage Box at Bunnings.

spice-rack-4-tier-adjustable-white-wire-ltw

Hubby kindly screwed two of these to the inside of the pantry door for me.  They were really quick to install.

Rather than throw my mishmash of spice bottles into the shelves, I went to Howard’s Storage to find some Decor Tellfresh Spice containers.  I had some of these at home and I found they fitted nicely into the new spice rack.  Unfortunately they no longer seem to make the clear lid containers and instead have shiny red ones.  I love them but my desire for things to match didn’t.  Deciding I just had to be a big girl and suck it in, I bought the red set.

So here are all my spices within easy reach.  There is heaps of space remaining for any other items I might need to store here.

Spice Rack - Pantry Organisation

Spice Rack - Pantry Organisation

Spice Rack - Pantry Organisation

The best thing about this spice solution is that I have utilised the unused space behind my pantry door and hence freed up shelf space.  The fact that the shelves are adjustable mean I can rearrange them in order to store something other than itty bitty spice containers.

One problem solved this week….another 1001 to go!

How do you store your spices?

Project Life Nook

Standard

A little while back I wrote about starting up a Project Life album.  You can read that post here.  I was hesitant as to how committed I would be to the whole process, but I have found it so much fun and an easy creative outlet for time-poor me.

Once I realised just how much I liked it, I had to ‘organise’ myself and the project.  I set out to create a little Project Life  work station for myself.

In my study makeover, I had created more than enough bench space to dedicate to my Project Life materials. You can read about the study/craft room makeover here.

Study / Craft Room

On a shopping trip to Kmart I came across their new range of office supplies, that just happened to be in red polka dots, like my Project Life album.

Project Life

I picked up a set of tabbed folders that are perfect to hold layout ideas, kids’ art work, brochures and other nick nacks that I want to include in my album. I had a vertical file going unused, perfect for storing the folders in an easy-to-see manner.

Project Life Organisation

Project Life Organisation

I also scored a binder of cute sticky notes in various sizes.  I use these to make a note of dates, journal ideas or lists of photos to be inserted when I am yet to complete my layout.

Project Life Organisation

Finally, I grabbed a set of two boxes.  The smaller one fits my journaling cards, the larger one holds my favourite journaling pens, stamps and processed photos.

Project Life Organisation

Project Life Organisation

So here it is, all stowed on my craft bench….

Project Life Organisation

If I couldn’t make all my Project Life ‘stuff’  look neat, pretty and coordinated there is no way I would allow it to remain ‘on show’.  Keeping it visible is important to me, it reminds me of my goal to keep a better record of our lives and makes it easier to do so.

The big bonus to organising myself and making it look pretty is that it only cost me $8. Cha Ching!


A Bedroom for a Dinosaur Loving Boy

Standard

It occurred to me the other day, as I was giving Master O’s room a quick tidy, that I hadn’t shown you all the changes we made in his room.

Towards the end of last year, as Master O’s 4th birthday loomed, we struggled to find him a present.  We really didn’t want to buy him toys as we knew he would receive more than enough as gifts from the family.  I really had no inspiration until I found myself staring absent-mindedly into a store window while waiting for my sister.  As she arrived and I turned to leave, I realised what I had been staring at…..the cutest range of dinosaur linen and accessories on a fantastic sale.  There and then I decided his present would have to be a dinosaur room makeover.

The day before his birthday party, while he was a daycare, I set about transforming his room.  Previously it had sported a nautical/pirate theme which I shared in these posts here and here, but this is what it looked like on the morning I started the transformation.

Dinosaur themed boys bedroom

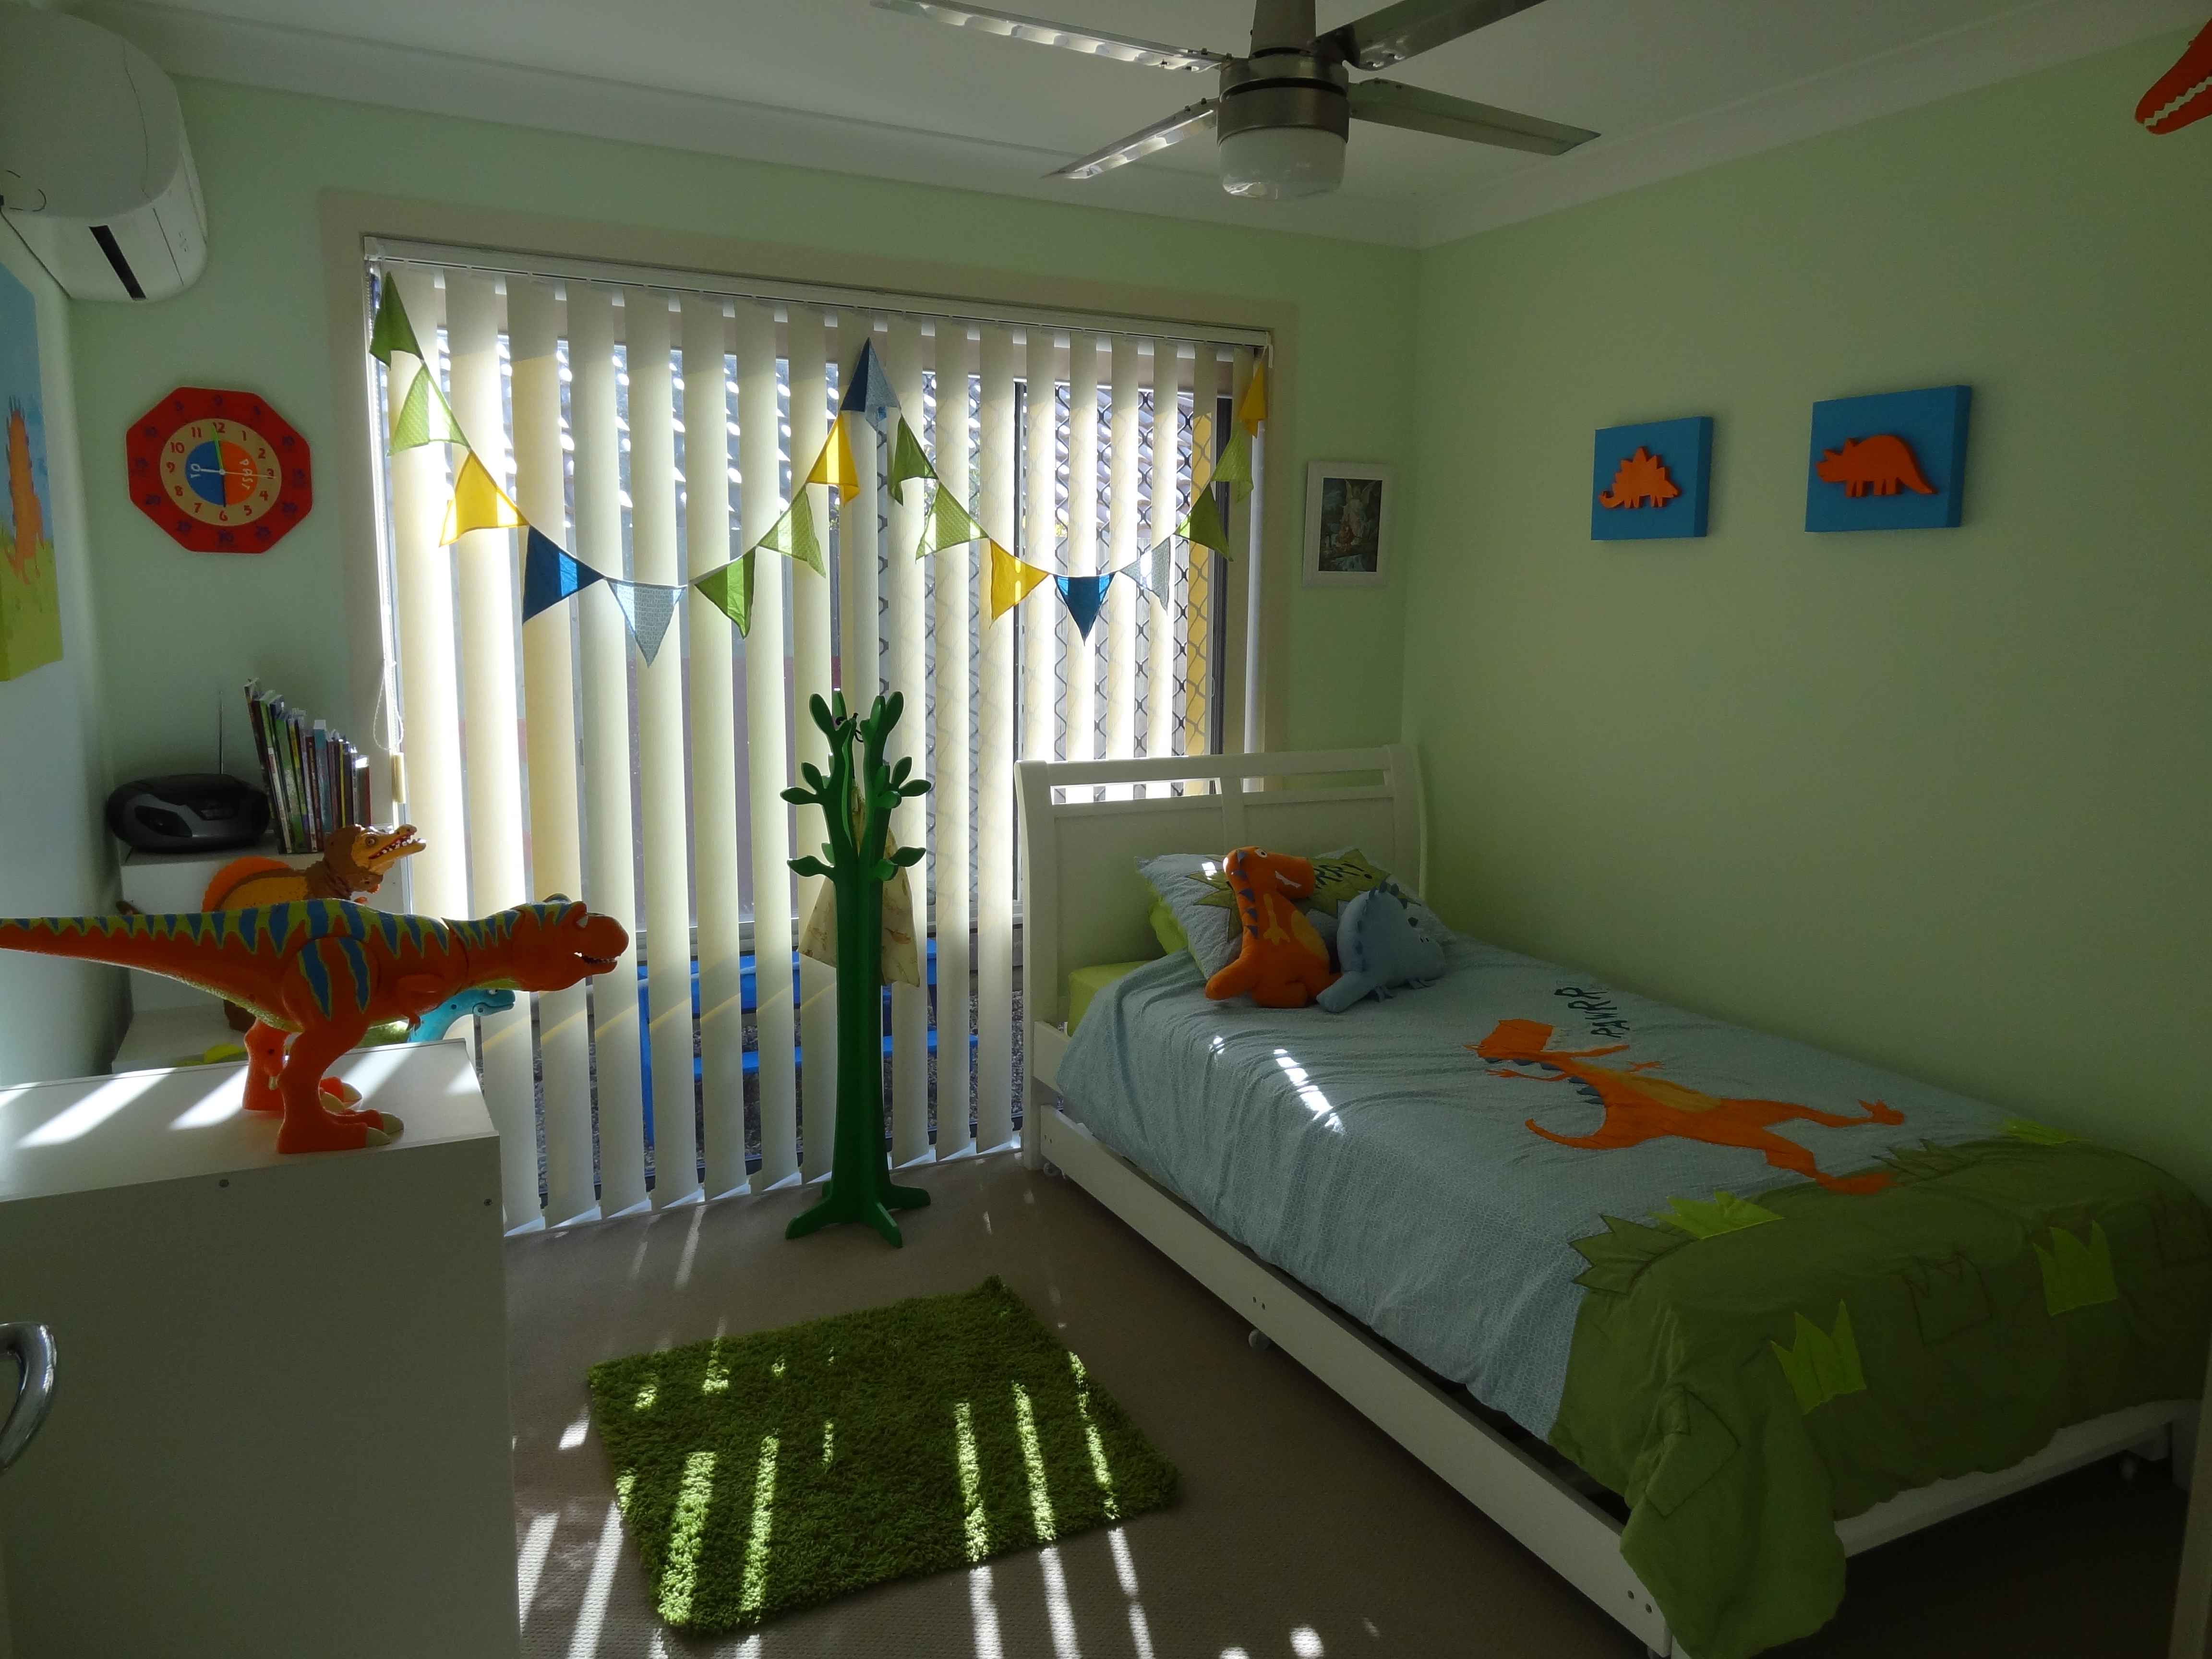
After a good clean up and rearrange, followed by the addition of  the new duvet cover, matching cushions and bunting, the room looked a lot fresher.Dinosaur themed boys bedroom

Dinosaur themed boys bedroom

Dinosaur themed boys bedroom

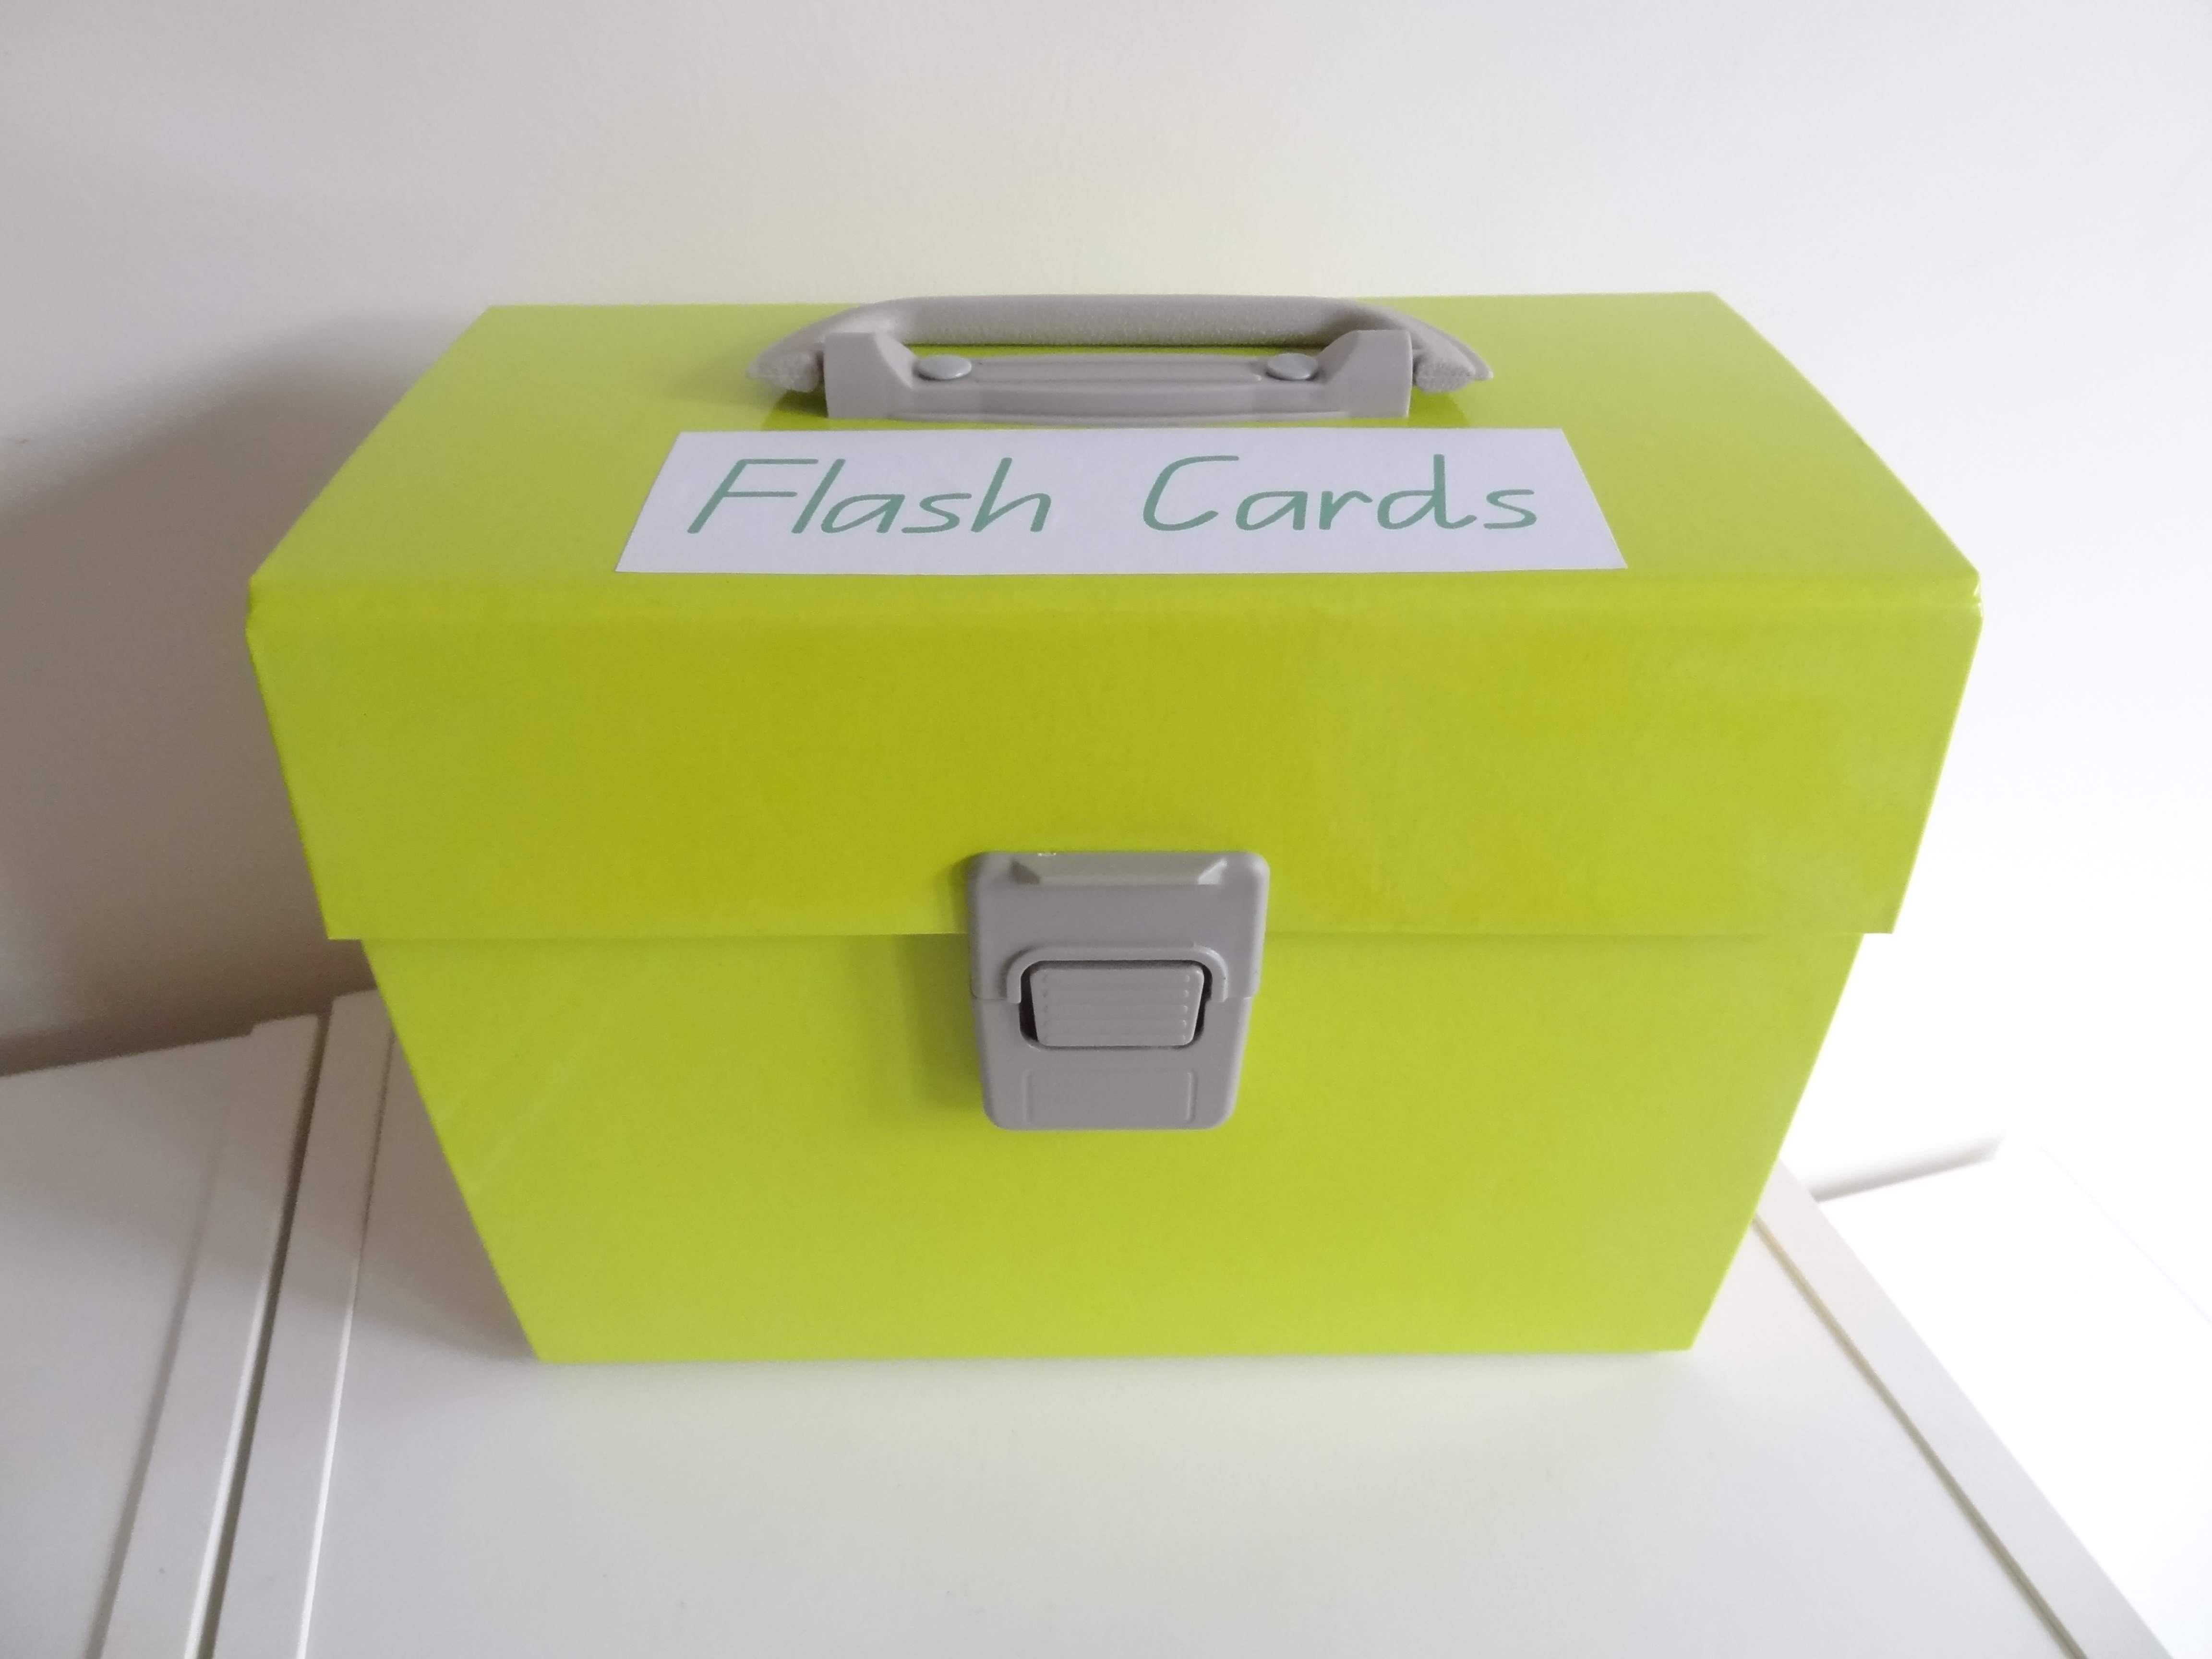
I added a few other nick nacks that suited the theme, like these cute bookends.

Dinosaur themed boys bedroom

I had already added a padded cushion to the Trofast toy storage units to make a reading seat, but now I could see how well my colour choice matched with the linen. You can read about how I made the seat  here.  A little rearranging of the Trofast tubs I already owned enabled me to bring the colour green into this area of the room as well.

Dinosaur themed boys bedroom

I had tried to purchase some artwork for the walls in time for his birthday but I couldn’t find anything that matched the colour scheme. Master O didn’t mind, he was chuffed with the transformation.  The walls remained blank until about 3 months ago when I returned to the linen store and found a matching dinosaur canvas in stock.

Dinosaur Themed Boy's Room

So with one wall decorated,  I thought I might have to make something for the other wall – but what?  On holidays last month I came across a stall that sold all manner of dinosaur cutouts,  2D and 3D.  The were amazing and so well priced that I had to be restrained.  I purchased 2 x 2D cutouts and after a bit of spray paint, attached them each to a canvas.  It was a such a simple art solution and they really do pop with their shiny bright orange paint.

Dinosaur themed boys bedroom

The other purchase I made was 3D pterodactyl.  After a couple of coats, also in the bright orange paint, I attached him to the ceiling.  I was concerned that he might be a bit scary for a 4-year-old, woken in the middle of the night, but Master O has entrusted the pterodactyl with the task of keeping him safe.

Dinosaur themed boys bedroom

So after stalling for nearly 4 months with the artwork, the room is pretty much complete now.  Master O received a couple a big dinosaur figurines for his birthday and Christmas that fit in perfectly with the colour scheme so they now reside on top of his Trofast unit and look very much at home.  We also picked up a hat stand shaped like a tree on sale at Target.  It is the perfect place to hang his Kindergarten and library bags when it is not some how involved in some imaginative dinosaur play.

Dinosaur themed boys bedroom

Dinosaur themed boys bedroom

Dinosaur themed boys bedroom

This really has evolved into the perfect room for our dinosaur loving boy.  What are you favourite themes for little boy’s rooms?

Taming Loyalty Cards in Your Wallet

Standard

It seems like just about every store these days has a loyalty card.  You know what I am talking about….those credit card like annoyances that take up every slot in your wallet.  My wallet was so chock-a-block full of them that I rarely found the one I wanted, which meant I missed out on the points, offers or discounts they provided.

A little while back I showed you how I tamed my coffee loyalty cards in a plastic sleeve.  You can read about that here.

Taming Coffee Loyalty Cards

This has served me well with the mostly cardboard cards,  but I had not thought it suitable to apply to plastic cards.  I wanted something  that was robust, easy to flip through and access whilst I completed my transaction at the checkout but had yet to come up with a solution.

It was an amused sales clerk, watching me go through dozens of card slots looking for a particular card, that suggested I put the cards on a key ring .  What a simple, yet brilliant idea!

This morning I gave my wallet a good clean out and gathered up all my loyalty cards.  There was a lot, and that was after a massive cull!

Taming Store Loyalty Cards

I grabbed the electric drill and a small drill bit and began drilling holes through all the cards.  I leant on a piece of wood to ensure a cleanly drilled hole.  The whole process took only a few minutes. If you have a quality hole punch, it would probably do the trick too.

I threaded the cards onto a key ring that was lying around unused.  It is probably a little small, but it will do until I find a larger one.

Taming Store Loyalty Cards

Taming Store Loyalty Cards

I know this will work a treat.  No more hissy fits for me at the checkout! Nothing will slow down this little shopping buff!